Wednesday, January 29, 2014

Riley's Showstopper


I finally put the last few stitches in the binding for my Riley Blake challenge quilt yesterday.  It's no secret that I really struggled with trying to figure out how to use these fabrics.  But on the day that I made myself sit down and figure something out, I took out my entire stash of solids to play around with.


Once I placed the orange circle print with the magenta and placed the chevron print (which I had previously been thinking was more blue) in with the aqua and turquoise, it all made sense and clicked into place for me.  Rainbow, of course!!  So now what to do with them?


In the comments for my Stumped post, someone suggested that I limit myself to using something I already had instead of searching for some brand new project to try.  Awesome idea!  I went to my list of patterns that had been collected but not used and came across the Showstopper pattern by Don't Call Me Betsy.  When she released this paper pieced pattern, I fell in love and bought it immediately but wasn't sure when I'd get the chance to use it.  At 96 pieces per block, it's by far the most complex paper pieced block I've tried and I can't really imagine making an entire quilt from it.  A mini works perfectly.  Each block is 12" finished, so this mini ended up at 24" square.


Elizabeth is a genius - all the secondary shapes that this pattern makes really keeps your eye moving all over the mini.


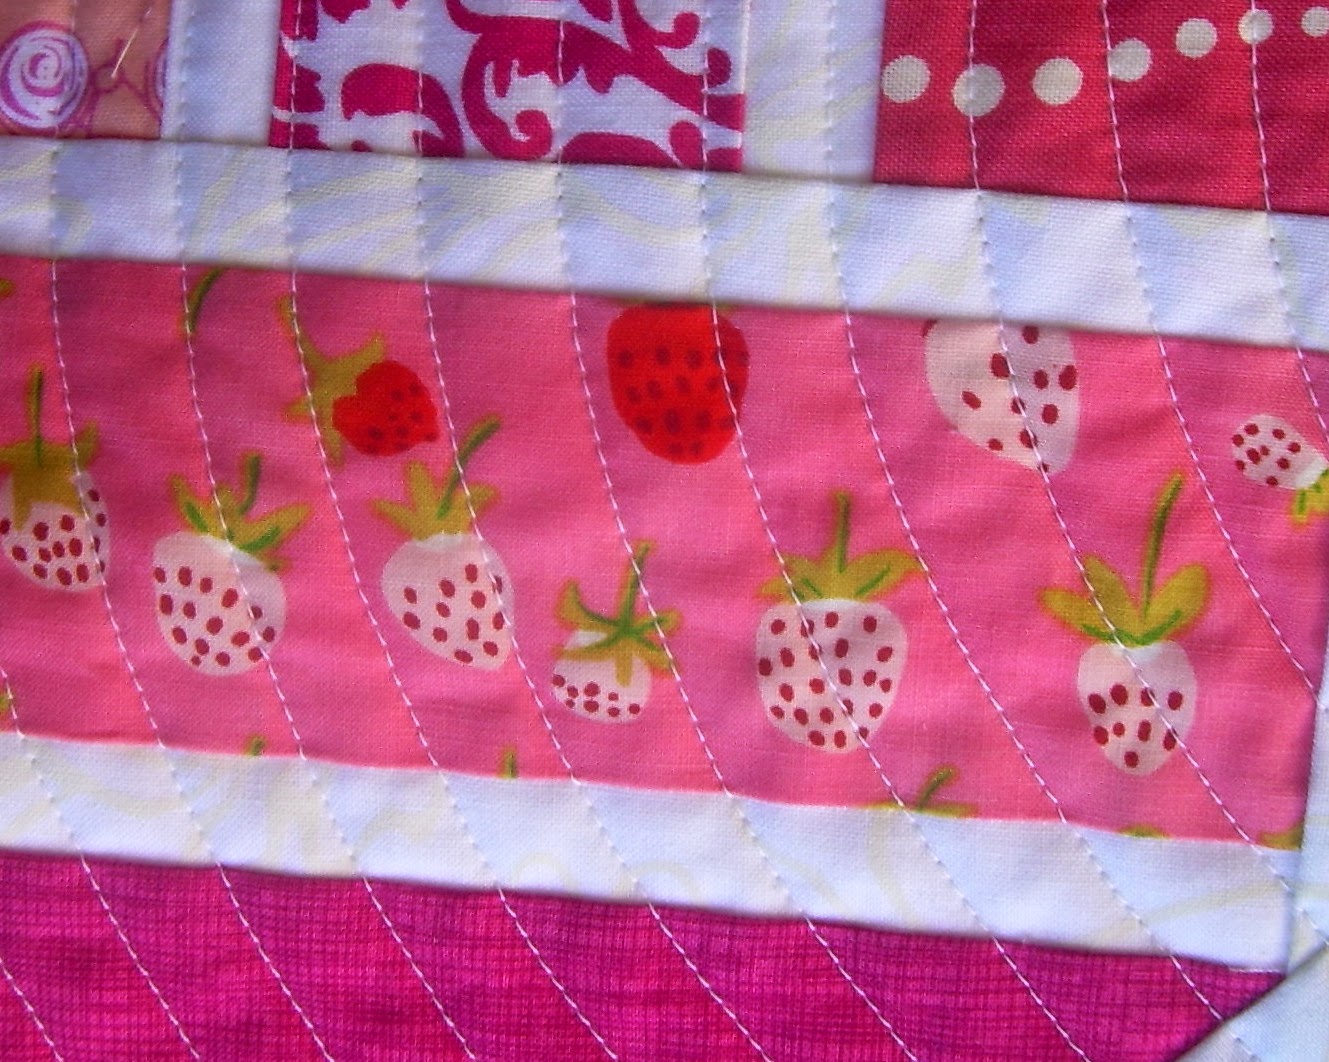
I really liked getting to make the prints the focal points of the blocks while all the solids keep those shapes so crisp and sharp!


The spiral quilting from my Brightly Broken mini made another appearance here.  Instead of white thread, I actually used a light lavender.


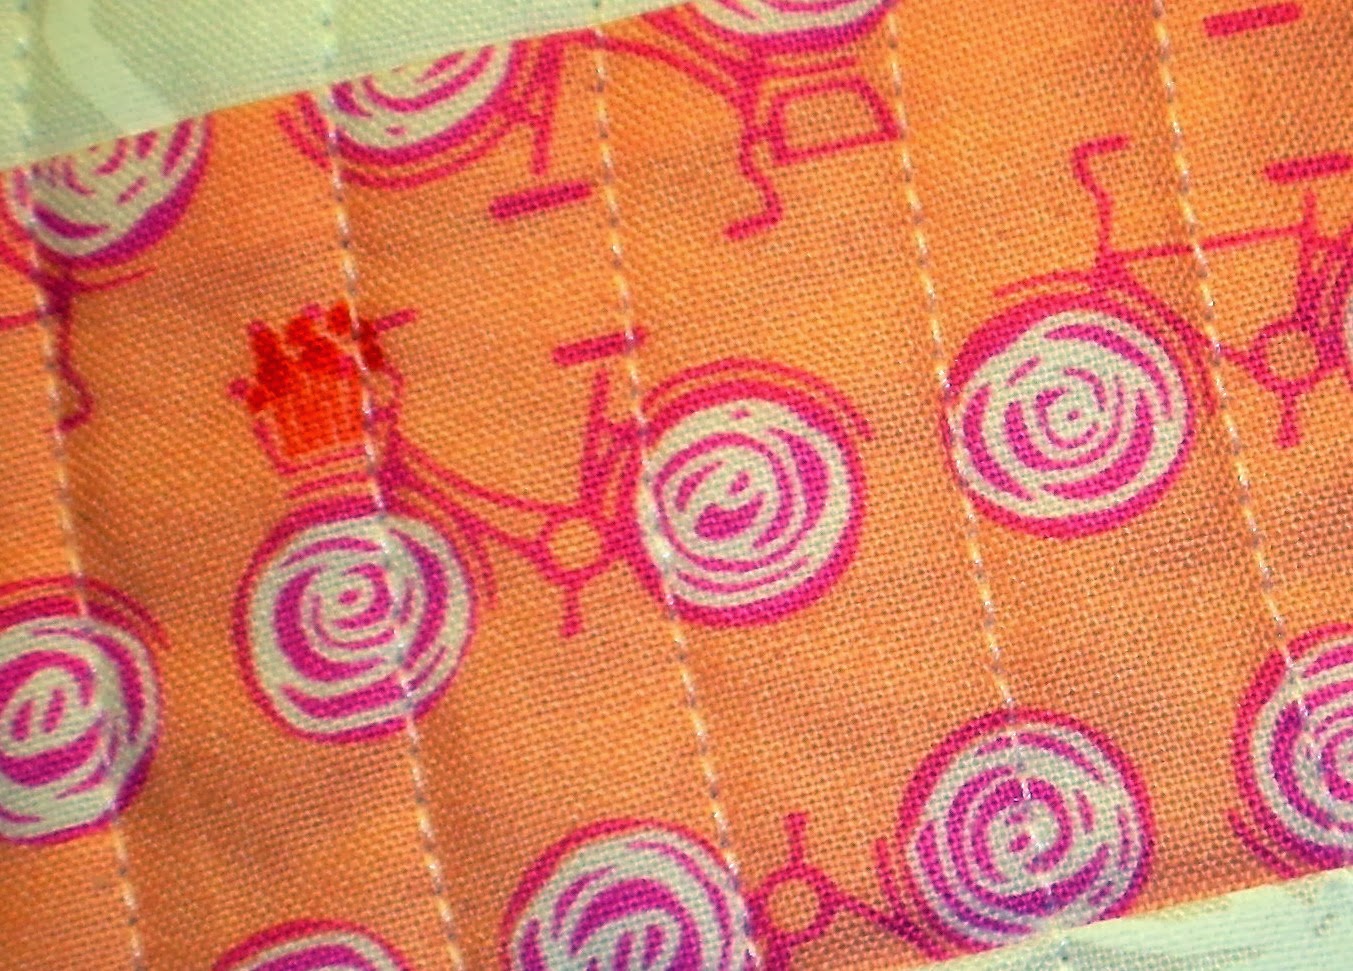
It doesn't show up too well in the photos, but in person I think it adds a little extra interest.


The only fabric from the challenge bundle that I didn't use was the grey and white stripe.  I would have used it for the binding, but knew that I would run short.  Instead, I used more of the charcoal grey solid and threw in a few bias strips from my print scraps.  I really like the effect of those bonus pops of color around the edges!


So with this finish, I've finally come to the end of my "have-to" sewing list and only have my WIPs nagging the back of my mind.  But instead of marching straight into those, I think I'm going to give my sewing machine a little break for a while and recharge my batteries.

Linking up:
Fresh Poppy Design

Wednesday, January 22, 2014

Brightly Broken


So the title sounds morose, but this mini is anything but!  Using the tried and true Broken Herringbone tutorial by Anne at Play Crafts, I (temporarily) left the black and white behind in favor of rainbow blocks ala Molli Sparkles.  I chose pretty much all bright jewel tones of magenta, purple, green and blue and sashed them in white.  It was pretty fun to shop for fabrics in my stash and I loved creating a bit of an "I Spy" in each block.

I spy...some fruit and fowl.


I spy...Aladdin's castle and Belle's bicycle.


I spy...snips and shells.


All those straight herringbone lines needed a bit of softening up, so I quilted it in one continuous spiral from the center.


It got bound with some Comma in black.


So what's with the extra herringbone love when I've still got a top unfinished?  Well....I've been given the opportunity to teach a class featuring this block at the fabulous Quilter's Way in February and wanted to create a few extra samples to show just how versatile and different these blocks can be.  I'll be making a few more little pieces in the next month, but this is the sample that will hang in the shop to advertise the class.  Hopefully enough people will be inspired to sign up and make it happen - I can't wait to give it a try!

Linking up with:

Saturday, January 18, 2014

For the First Time in Forever...

"...I finally understand" the ridiculous patience and practice that it takes to make fabric paint look decent.


Seriously, this Princess Anna costume is finished and (I think) looks pretty good but is the result of 2 loooong weeks of work.  Princess Anna's "adventure" dress from Frozen is beautiful but has a daunting number of details.  We've got a scalloped skirt with embroidered details in and on top of each scallop, an embroidered vest with gold edging and an aqua undershirt.  Yeesh.


I used this fantastic tutorial from Coletterie on how to create a scalloped skirt.  The inside points of my scallops definitely left a lot to be desired, but at least I know how I would improve upon them if I had to do it all over again.  I used Royal Kona for the topskirt and a lavender Fairy Frost for the underskirt.  After studying online photos and the kids' plush and action Anna dolls, I made my own stencils on thin plastic template sheets and then filled in the details with Tulip slick fabric paints.  It took a couple days to work my way all around the entire hem and some of my details are way more sloppy than others.  But even at a few steps distance, the mistakes aren't particularly noticeable.


With the Queen Elsa costume, I made a frankenpattern using some designs that I already had on hand.  For the Anna vest, I had nada.  Instead I kept on creating muslin pattern pieces until I came up with the right design that a) captured the different shapes of the neckline and waist and b) actually fit over her head without being too tight in one spot and too loose in another.


It took 3 attempts - not too, too bad!  A black Fairy Frost gave the top the appearance of texture with a very subtle sheen.  Instead of using fabric paint again on the bodice, I created more templates on construction paper and did some raw edge applique using Wonder Under and as small of a zigzag stitch as I could manage.


The lines still looks bulkier than on Anna's costume, but that's the difference between embroidery and applique, right?  Actually, I did use more fabric paint here but only for the small dots that didn't seem worth the effort to applique.


I bound the armholes, waistline and neckline like you would bind a quilt with gold satin.  It was super slippery to work with and ended up (again) being bulkier than I wanted, but overall it looks okay.  This was the part where I was least happy with the results, but that doesn't seem to bother little sis in the slightest.

Just ignore the golfball sized snowflakes streaking past....
By far the easiest part of the costume was the aqua undershirt.  I found a long-john style 3/4 sleeve white t-shirt on clearance and just dyed it to match Anna's shirt.  Shortcuts, people!  Take them where you can!


As if on cue, we received another snowstorm yesterday - looks like Mother Nature thought that Anna needed her own truly Frozen photoshoot.  I couldn't help but take a picture of the two sisters all dressed up...they look pretty good if I do say so myself.  :)


Linking up:

Wednesday, January 15, 2014

A Few Sneak Peeks...

Lest you think that I am up here in the bizarre New England fog (Wait isn't this supposed to be the season for snow and not rain and fog?  I'm confused...) and have taken a break from sewing, fear not!  Instead I have 3 things going simultaneously at break neck speed and they all needed to be done, well, yesterday.  Blerg.


I'd really like to just sit with my feet up and let the worker elves take over, but instead I've been furiously hand painting and appliqueing details on a Princess Anna costume that little sis is hoping to wear this Saturday.  Thank goodness that at least Queen Elsa got done in a timely manner!


I'm finally breaking through the brain freeze about my Riley Blake challenge due in a few short weeks (please, please, please let me manage to finish on time!!!


And I'm also trying to speedy quick make a rainbow broken herringbone mini for a fun new endeavor that I'm working on for February.

Be patient with me - there are a LOT of finishes on the horizon!  What do you have in progress this week?

Linking up with:
WIP Wednesday at Freshly Pieced

Monday, January 6, 2014

A Kingdom of Ice-olation...


Since my girls have first seen Frozen, they've gotten dolls, watched countless video clips of the songs on YouTube, sang along to the soundtrack on a repeat loop, acted out the entire movie, and yes gone back to see in in the theater again.  The girls are a little obsessed - they want TO BE Princess Anna and Queen Elsa.
If you haven't seen it - and even if you are not typically a Disney fan - I implore you to go ahead and watch this video of Queen Elsa singing "Let it Go."  It's a gorgeous song sung by Idina Menzel and the visuals are just AMAZING!  Go ahead, I'll wait.

--

Wow, right?  I still have visions of some kind of a Frozen quilt bopping around in my head, but I knew that I needed to get the sewing machine going sooner when I started getting written messages left around the house:

 "Elsa's Kingdom" at the entrance to her room

For those of you who don't speak Kindergartener, the ball reads (left to right) 
"From Frozen / This ball is for me and my sister / Name: Elsa and Anna"

Since they saw the movie, older sis was all about Queen Elsa and little sis wanted to be Princess Anna, which is actually pretty spot on to both of their personalities.  So I decided to tackle costumes for both of them.  Considering how much detail is on Anna's dress, I wanted to be easy on myself and create Elsa's Snow Gown first.


I didn't have any patterns that really looked similar, so I made a franken-pattern with the skirt from the Scientific Seamstress's Simply Sweet Dress and the top from her Portrait Peasant Top.  It's hard to tell from the pictures, but the aqua fabric for the skirt glitters and shimmers and the lavender fabric has little iridescent spots all over it.  I sewed the top and bottom together and had a perfect "under" dress.


The real beast of the project was creating the corset-ish overlay (I realize that I am butchering seamstress/costume language but I'm not a garment sewer and can't speak the lingo!  Sorry!)  It has a sweetheart neckline, a v-shaped waistline, and the sequins/beading looks more square/rectangular.


It took a couple tries with muslin to create the right shaped pattern piece that would lie over the peasant top's arm seams correctly while still creating the perfect arches and points in front.  Add in the fact that the fabric I chose could only be ironed for 5 seconds (through a pressing cloth) before starting to melt, was thin like tissue paper behind the sequins and hard to get through my machine without dragging and puckering, and I was kicking myself for thinking this dress would be easy.


Thankfully once it started to work, it worked beautifully!  I hand stitched the sweetheart neckline onto the peasant top so that it wouldn't move around too much while she was playing in it.  Because a velcro closure would have easily ripped the delicate fabric, I sewed on hook and eyes instead.  Right now the costume fits her on the very tightest row of eyes, so she's got room to grow and be Elsa for a good long while!


The cape/train stretches from armpit to armpit on Elsa's gown.  I took an entire length of silver beaded sheer fabric and (after finishing off the raw edges with a zigzag stitch) gathered one end until it measured the same width on the underdress and sewed it on.


When the top is fastened in place, it completely covers over the raw gathered edge of the train and keeps it from weighing down the neckline too much.


Glitter is all over every surface and I don't know if I'll ever manage to get the dress off of her...and it's completely worth it!  I even managed to get her out in a typical New England snowstorm to get a few truly Frozen photos - she was well rewarded with hot chocolate afterwards.


Over the next week, I'll be going back and forth working on little sis's Anna costume as well as my Riley Blake challenge, so stay tuned!


Linking up:

Thursday, January 2, 2014

Looking Back...

2013 has easily been my most productive and challenging sewing year so far!  I managed to create 4 square or twin sized quilts and 9 mini or cuddle-sized quilts over the year - far and away more than I've done before!


This was the first year that I've joined any kind of group projects.  The biggest surprise has come from the ScrapBeeLicious bee that was created after the Plum and June Let's Get Acquainted Blog Hop over the summer.  It's definitely stretched me to try some palatte's and block patterns that I never would have tried otherwise - and every one has come out fantastic!  Some ScrapBeeLicious and guild blocks from this year:


Not to mention all the fun side projects that have kept me going in between the big stuff...


So what's in store for the new year?  I've got a slew of WIPs that I am determined to finish, I want to expand my skill set and get a little more polished, try a few more advanced techniques, finish that pesky Washi dress, and have even been given the opportunity to teach a class during the spring!  I can't wait to see what 2014 brings...