Sunday, December 30, 2012

My Little Bookworms...


One of the things that I'm happy I've passed onto my girls is a huge love of books.  I've always got a book (or two...plus maybe an audiobook in the car) queued up on my Nook or out from the library.  Big sister learned to read pretty early and I'm convinced that part of that is because we always set aside time to read together each day.  So what better gift for both of them than a quilt that captures their favorite books and characters all together?

I had seen a quilt from Ashley at Film in the Fridge called Converging Corners - very scrappy and lots of negative space.  I liked it but I'm not usually one for uber-scrappy quilts.  I do however love me a rainbow quilt.  When I got to thinking about designing a book-themed quilt, I thought that illustrations from each book would be a cute center for the Converging Corners blocks.  But instead of going completely scrappy, I could lay it out so that each corner has a specific color.  Then each of those converging corners would join to create a scrappy colored star.  Yes!!

Of course something like that I couldn't just go into all free spirited.  I had to be a nerd and graph it all out so that I could (best as I could) match book characters to corner colors.  (Please ignore my huge white-out patches - should have just started in the center).


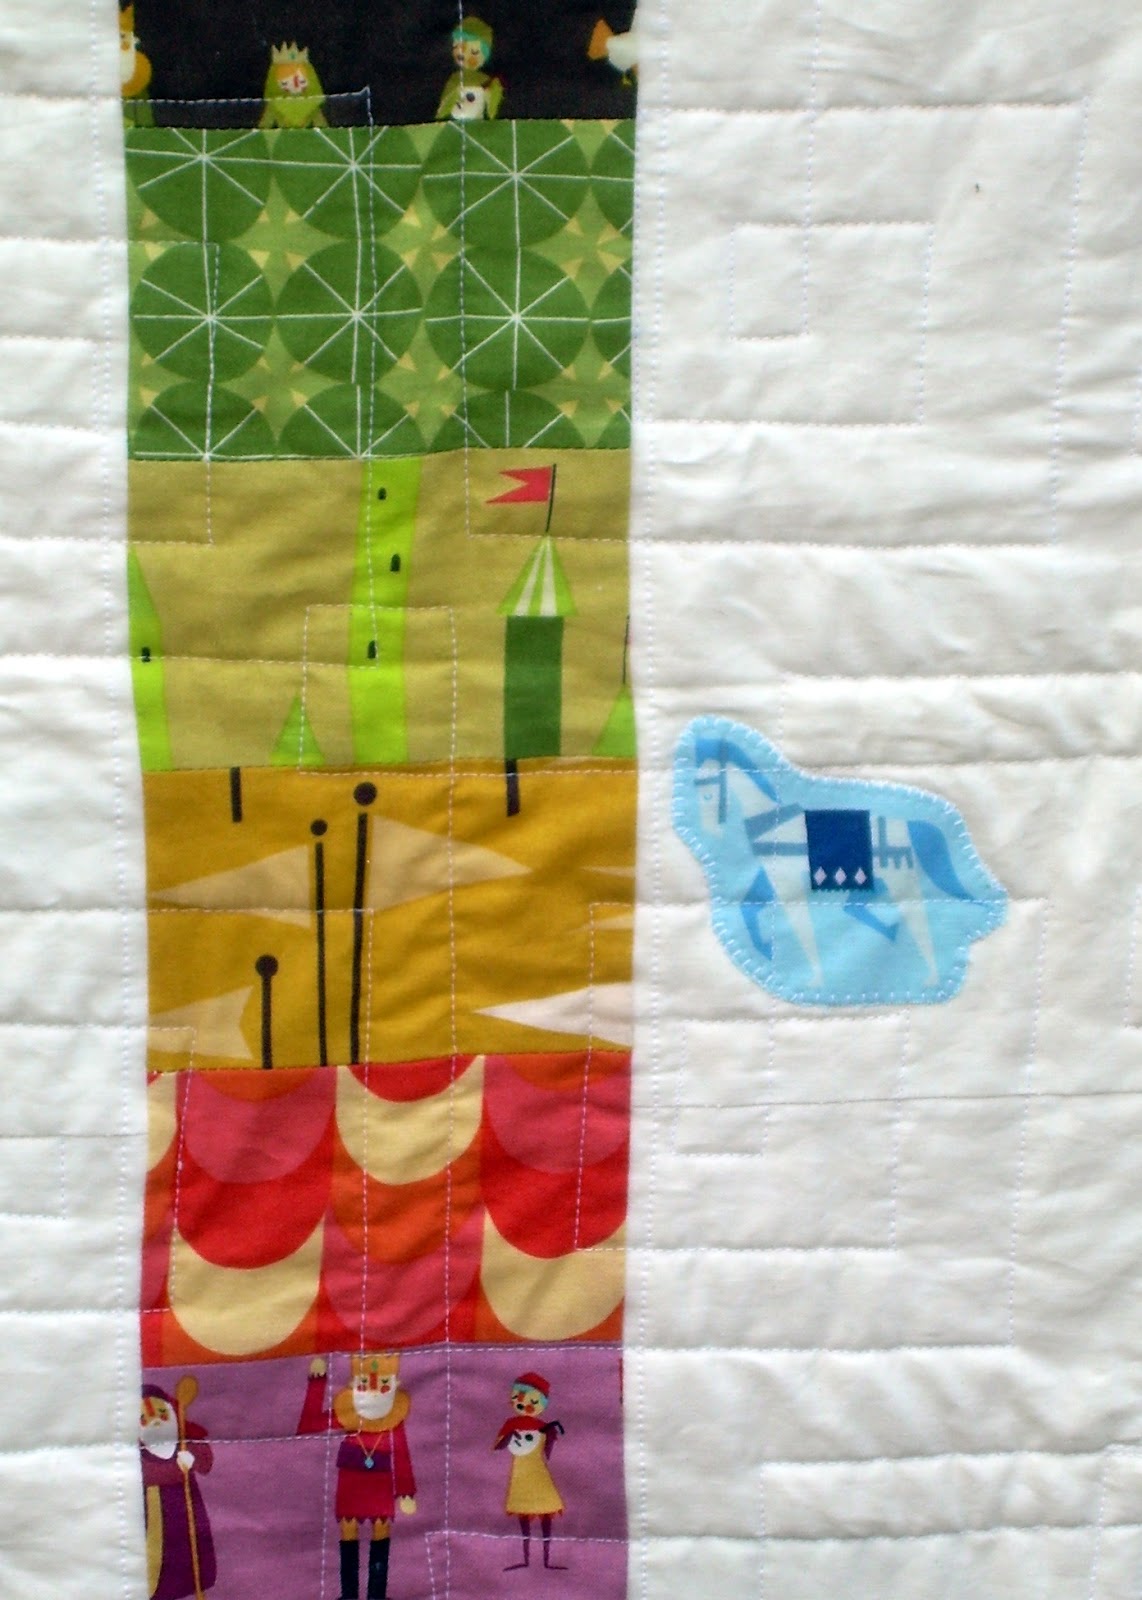
So here are the first three finished blocks - Fancy Nancy by Jane O'Connor, The Tale of Peter Rabbit by Beatrix Potter, and If You Give a Mouse a Cookie by Laura Numeroff


I'm so excited about how this will all come together and will have more blocks to share as well as details on how I'm making them!

Linking up with Freshly Pieced WIP Wednesday:

WIP Wednesday at Freshly Pieced

Tuesday, December 25, 2012

One Last Finish for 2012...


Looks like setting goals for a month was a great success!  I finished Circle Peeps, started on one of my new ideas, and now rounding out my 3 for December - a finished Vivienne skirt for my oldest using a super cute print from Sarah Jane's Children at Play line.


The pattern was pretty easy to follow and it's such a cute design for girls of all ages!  The underskirt and ruffles were made with a Michael Miller Fairy Frost fabric which has a subtle sheen to it. 


I just LOVE this print - so cute!  I bought enough of both fabrics to make a dress for little sister, but I think I'll enjoy this last finish of 2012 for a bit before adding another project to the list. 

Check out other blogger's Friday Finishes over at Crazy Mom Quilts!

Fresh Poppy Design

Wednesday, December 19, 2012

Elephant Parade...WIP Wednesday


So now that Circle Peeps is all wrapped up and being used for blanket forts by the girls, I can launch into something new and these elephants were calling to me from my list of potential projects.  (Warning:  badly lit photographs ahead - my sincere apologies! :))

My original idea was to make a simple and quick baby quilt with strips of marching elephants against the light grey background fabric with a few pops of color here and there.  The elephants all have tiny touches of color in their tusks and hooves - a bright orange, aqua, and purple palatte.  Fun!

I had seen a cute pattern on the current cover of Quilters World magazine - a 7-patch block that's rotated throughout the quilt so you get lots of negative space with strips of color and thought that I'd try something similar but slightly different. 


I picked 2 color sets of 3 - purple/aqua/orange and pink/aqua/purple.  The blocks that I created have tiny strips of grey between the colors so that they stand out like a film strip.


I was really liking the blocks - although I did the math a bit wrong so they turned out a bit smaller than I wanted.  And then I went and held them up to my elephant strips. 


Not bad, but definitely not the effect that I wanted.  Even when I was rotating the blocks to alternate between horizontal and vertical strips of color, it was WAY too busy.  I had wanted sparse pops of color and this was not working.  Back to the drawing board!

I left it alone for a couple days and then decided to go back and keep only one 2" square of color per block.  A couple of "demo" blocks later and I'm liking it MUCH better.


Now that I know what I'm doing (and more importantly liking it) I think it will come together pretty quickly!  I doubt that I'll be quick enough for it to count as a finish for 2012, but it does give me a pretty good jump on a finish for 2013.

Check out other bloggers WIPs here:

WIP Wednesday at Freshly Pieced

Sunday, December 16, 2012

Here Ye, Here Ye...


...Circle Peeps have arrived!  After an exceedingly long work in progress and with some lifesaving suggestions from the BMQG meeting, Circle Peeps has been quilted and bound and is ready to...well, I'm not sure.  It will stay in our house for now anyways, but I'm not married to the idea of keeping it. 


I had just enough of the rainbow strips to make a panel for the back, and added in a little knight's horse just for an extra touch of whimsy. 


I really struggled with the quilting of this - not because it was difficult but because I love doing Angela Walter's chain squares pattern but still have not forced my machine into free-motion quilting submission.  Which meant that at every corner of every square, I was rotating this quilt through the tiny throat of my machine.  That's a lot of twisting and rotating!


It probably took the better part of a week of quilting a half-hour here and there and it was making me a little...resentful...toward the quilt in general.  But once the quilting was done and the binding was in progress, I started loving it again.


I was originally thinking that it would be fun to do a bright stripe for the binding, but couldn't find any fabric that I was really in love with for it.  Instead, I though this beige dot would be a nice compliment to the rainbow top.  Ah, the satisfaction of a finish!! 

Fresh Poppy Design

Monday, December 10, 2012

It's Nice to Have Goals...

I saw a linky party hosted by Traceyjay Quilts that gets you thinking about making 3 goals for every month.  I am all about getting to scratch things off my to-do list, so sign me up!  So here are my 3 things to do for December:


1.  Finish Circle Peeps - I'm in the middle of quilting, then all I have to do is bind this to wrap up a 2 year project.  Yay!  I ended up choosing to do the quilt in the Angela Walters "chain squares" pattern fairly large over the middle blocks with another smaller chain of squares around the border. 


Of course, the kinks in my free motion attempts still aren't worked out, so I've been doing this with my regular walking foot.  Which means shoving this entire thing through the tiny throat of my machine.  At every corner.  Meh.  But the end is in sight, so I'm pushing through!


2.  I started the Vivienne skirt for my oldest daughter with a fabric from Sarah Jane's adorable Children at Play line.  I'm doing the ruffled underskirt in a beautiful lilac Michael Miller Fairy Frost, so it has that sparkly sheen without looking like it's been dipped in glitter.  It's 3/4 finished, but those darn ruffles just take so long to gather and then attach, so it's sitting patiently on the ironing board until Circle Peeps is done.

3.  And then...I can actually start one of these ideas guilt-free!  *happy dance*

Now let's see if I can get them done...

traceyjay quilts

Wednesday, December 5, 2012

Circle Peeps...WIP Wednesday


Its pretty bad when your idea list is 10 times longer than your WIP list.  Well maybe not bad exactly, but it gets hard to pick what to only half-finish first.  I have a Castle Peeps circle quilt that has been sitting at the bottom of the “to be finished” pile for about 2 years now.  This is just ridiculous and infuriating -  I loved this fabric line by Lizzy House as soon as I saw it and immediately purchased more fabric at one time than I ever had before.  I had also seen a great tutorial for an appliqued circle quilt that I thought would really show off the cuteness of the print.  I assembled all the appliqued blocks fairly quickly  so was feeling pretty pleased with myself. 

 
Originally I had made 6” wide strips of stacked coins from each of the fabrics for a border. 
 
 
But when those strips were all sewed and cut and I placed them against the quilt top, it just felt too busy.  So I put it all aside and promptly forgot about it to start something else fun and exciting.  Fast forward 2 years and all these pieces were still sitting around – those Peeps must be mighty patient. 

Umm...hello?  Remember us?
Before I can move along to any of the projects that have been rattling around in my head, I need to finish up the Peeps, but those stacked coin strips were just hanging me up.  I tossed a bunch of ideas around and nothing seemed to fit, so I brought the whole kit and caboodle to the BMQG meeting in November for our massive show and tell.  Someone (sorry I didn’t catch who, but thank you!) suggested cutting the strips skinnier and sashing them in white.  YES!!

 
It turns out that I had EXACTLY enough to complete a full border and a long strip for the backing by cutting the strips in half – seriously!  There were only a few inches left when all was said and done!  The white sashing was perfect.  It gave the circle blocks a little breathing room and made those rainbow squares pop as a border. 


Now all I have to do is figure out how to quilt it…

Check out other bloggers' WIPs here:
 
 WIP Wednesday at Freshly Pieced

Friday, November 30, 2012

Idea Overload...

So this post feels a little scattered, but I’m hoping that putting all these random ideas out there will help to keep me accountable and actually get me GOING on some of these potential projects.  So without further ado, here are the random ideas that are taking up space in my brain instead of on my ironing board:

 
I got some really cute “Little Green” fat quarters at Sew Fresh over 6 months ago with the intention to make a quick project of some placemats. Somehow it just keeps getting pushed to the bottom of my to-do pile.


With my oldest daughter’s quilt for her twin size bed finally out of the WIP pile this past summer (Hmm…looking back it seems like my typical lag time is 2 years.  Maybe acceptance is the first step to change?), I’ve been thinking about what to make for the time when little sis gets her own big bed.  She’s a pretty big Tangled fan and I’ve always thought that the mural that Rapunzel paints on the tower walls would make a pretty cute appliqued quilt.  It’s definitely out of my comfort zone – I’ve never attempted a “landscape” quilt before, but I think that it will be worth it. 
 
 
Typically, I’ve already purchased a few fabrics that I think will be great matches for the jewel tones of the painting but they’re just sitting and waiting for me to do something with them. 

 
I love this color combination of deep purples, magenta and red-orange.  I saw a floral arrangement like this a while ago and have been dying to find a good choice of fabrics and an inspiring pattern to match it, but haven’t been able to settle on anything.  Come to think of it, I’ve also been drawn to this patchwork feather pattern by Anna Maria Horner – maybe these two ideas could actually be combined?  The more I think about it, the more I like it!

 
I bought these four fabrics from a vendor at the Lowell Quilt Festival and liked the bright spring/summer feel of them together.  I’d like to make a mini out of these.  My typical impulse would be to have a white background, but I’ve done an awful lot of that lately.  Maybe a light grey would be a good alternative?  Again, still haven’t figured out what to actually make from these fabrics, but I’ll come up with something eventually.

 
Love, love this elephant fabric that I bought a few weeks ago (like I really needed to buy any more fabric without a clue what do to with it).  I’m imagining a baby quilt with a couple rows of elephants, a few pops of color and more negative space that I’m used to attempting.  Maybe it will inspire me to be a bit more adventurous in my quilting!

Now if I could just wrap up the 3 WIPs that are currently stuck in progress (or maybe even just 1??), I could move on to these ideas with considerably less guilt!  Just have to get back in the sewing swing of things.  More on the WIPs next time…

Sunday, November 25, 2012

Greatest Hits...Ron Swanson Mini


Have you ever tried to make a quilt for a man?  It’s HARD!  I was pretty settled on the fact that even though hubby is über supportive of my never-ending sewing and fabric shopping, he’d probably never truly appreciate the gift of a quilt.  Fine by me if he’d rather have CDs or a new phone – whatever floats your boat!  That is until I saw this by Monica of Happy Zombie fame.
 
 (Perhaps I should preface this by saying that both hubby and I are major Parks & Recreation fans and “Treat Yo Self!” became our adopted catch phrase for longer than was probably healthy or funny for people other than us.) 

I guess my love of quirky quilts and pop-culturey projects is no secret, so making a mini quilt of this for our 13th anniversary seemed like it would be a good fit and probably a fairly easy finish.  About 2 weeks before our anniversary, I went onto Happy Zombie to find a few more detailed photos and how she constructed her letters…and found a tiny reference at the bottom of her Treat. Yo. Self.post that said that Ron Swanson would be appearing on her blog.  Hmm.  Intriguing.  So I clicked…and laughed, and laughed, and laughed. 

(Perhaps I should also add here that in addition to loving Parks & Recreation, my hubby wants to BE Ron Swanson and would probably wear his hair high and tight and rock a ‘stache if he could pull it off.
 
I knew instantly that a) this would be perfect, b) extremely appreciated, and c) WAY harder to finish in two weeks than I was counting on.  Undaunted, I joined the Ron Swanson Along and picked out my fabrics.  Happy Zombie’s version is pretty much one color scheme, but I liked the idea of having a separate color for the background.  I also really wanted the hair and moustache to stand out a bit, so I added a range of browns to the black and greys and chose aqua for the background.  Manly colors, all the way!


 I also wanted to scale down the size a bit from her tutorial so that hubby could bring Ron into his office to keep him company during the work week.  I scaled down the squares to 1.5”.  Now just so you know, each block was 10 squares by 10 squares.  And there were 12 blocks.  Ugh.  The cutting, my god the cutting!  I think I practically got a blister on my finger from all the rotary cutting, but I just knew that it would be SO worth it.

 
I worked and worked on the Swanson mini at every free second for those two weeks.  After a couple of days of sneaking around behind his back, I figured out a key point that I will probably use to my advantage again:  if I don’t physically bring him over to the sewing machine or ironing board or prompt him to come and look at a project, he will NEVER ask what I am working on. So I was able to work away right under his nose and still keep the gift a surprise.  Yay!  I finished sewing on the binding by noon on the Saturday of our anniversary dinner and wrapped it all up with a card that alluded to me never becoming one of his “Tammy’s.” 


The look of confusion melting into utter delight and amazement when he opened up the quilt was just perfection.  I don’t think I’ve ever been so satisfied with a gift I’ve given him.  It got even better when I asked him to turn it over and he saw the extra little something that I created for the back.

 
Scrappy eggs and bacon - because any Ron Swanson fan needs to have ALL the eggs and ALL the bacon.
 
 
I loved this from start to finish – even when all those hundreds of squares felt a bit too much, I’d get a glimpse of moustache or furrowed brow and it just all felt worth it.  Plus I felt like I was giggling and running Parks & Rec lines through my head the entire time that I was sewing.  It was pure bliss!

 
The cherry on top was that when I posted up pictures in the Ron Swanson Along Flickr page, I got comments and praise from Monica herself!  And then she pinned it as well!  I felt a little star struck.

And just in case you were wondering, Nick Offerman HAS seen Monica’s quilt and even SIGNED IT for her!!  Gasp!  Now THAT is better than a meat tornado. 

Tuesday, November 13, 2012

Princesses from Scratch...


My family and I just got back from an amazing vacation – our first as a family of four – to Walt Disney World.  Just like most girls ages 2-10, my girls are both OBSESSED with Disney Princesses.  I mean, it looks like the Princesses threw up all over their room and then added a little extra pink just for fun.  We have a drawer full of costumes and dress up stuff in various sizes.  When we first started really planning this trip in earnest, I knew that between character meet and greets and a fancy dinner at Cinderella’s Royal Table (yes, the most expensive chicken nugget meal EVER that still did not get finished, but still shockingly worth it), the girls would probably want to be tooling around in their fancy finest.  But we’re talking Florida heat and most of their store-bought costumes are polyester mixes.  No thank you.

I went online to search for cotton princess dresses and found an adorable shop that makes the most gorgeous stuff, but the price was pretty far out of my budget.  Could I try to make these on my own and save some money?  I figured that it didn’t hurt to try and found this e-pattern that could be altered to come close to some princess gear with the added bonus of breathable cotton fabrics and seams that didn’t rip at the slightest action (Imagine my Seth Meyer imitation voice here:  I mean really, Disney?  Really?  Do your costumes have to immediately rip and disintegrate 5 minutes after purchase?  Really?)

So for my first attempt, I settled on Briar Rose (Princess Aurora’s peasant alter-ego for you Disney-challenged readers).  It seemed pretty easy and it was immediately worn and played in with no ripping or tearing.  Yay!

 
Next I tried Rapunzel and got even fancier by using Michael Miller Fairy Frost fabrics which have a slight metallic sheen.  Success!  

 
My youngest is head over heads for Ariel, the Little Mermaid.  Most of the costumes out there are cute, but I wanted something that really looked straight out of the movie with her typical purple seashell bra and plain green mermaid tail.  I cut the hem so that it curved up at the center in the front and back to resemble the curves of a fin. I added a fleshly pink strip for the belly and straps and yes, I even embroidered a little belly button.
 
 
Side note:  I found that perfect green fabric at a local quilt store  and immediately thought that looked just like fish scales.  While the owner was cutting it, I told him what it was for.  He was shocked and said that was a “new interpretation.” When I asked what it was usually used for (honestly, what else besides fish scales does it look like?), he said it was supposed to be roof shingles.  Huh. 


 Older sister loves Belle so we got a couple yards of gold fairy frost to whip up a dress worthy of a twirl around the dance floor from the Beast.  I finished it up a week before we left…and it never got worn!  But I know that it’s going to be played in a lot, so no worries. 

 
My oldest already had a store bought Cinderella dress that she wanted to wear, but the little one wanted to be Cinderella too when we were going to the Castle!  I’ve always loved the pink dress that the mice make her – before it’s ripped to shreds of course.  I was even able to find a cute bow headband and make her a string of turquoise beads. 


The “real” Cinderella made quite a fuss over little sister’s pink dress and asked if her mice friends collected all the beads themselves.  And the “real” Ariel even noticed her little belly button and thought it was too cute! 

I’m all Princess dress-ed out, so I think I’ll stick to regular old quilting for a while until I go back to it again.  Or until one of them makes a new request...which will probably be tomorrow.  Back to the real world!