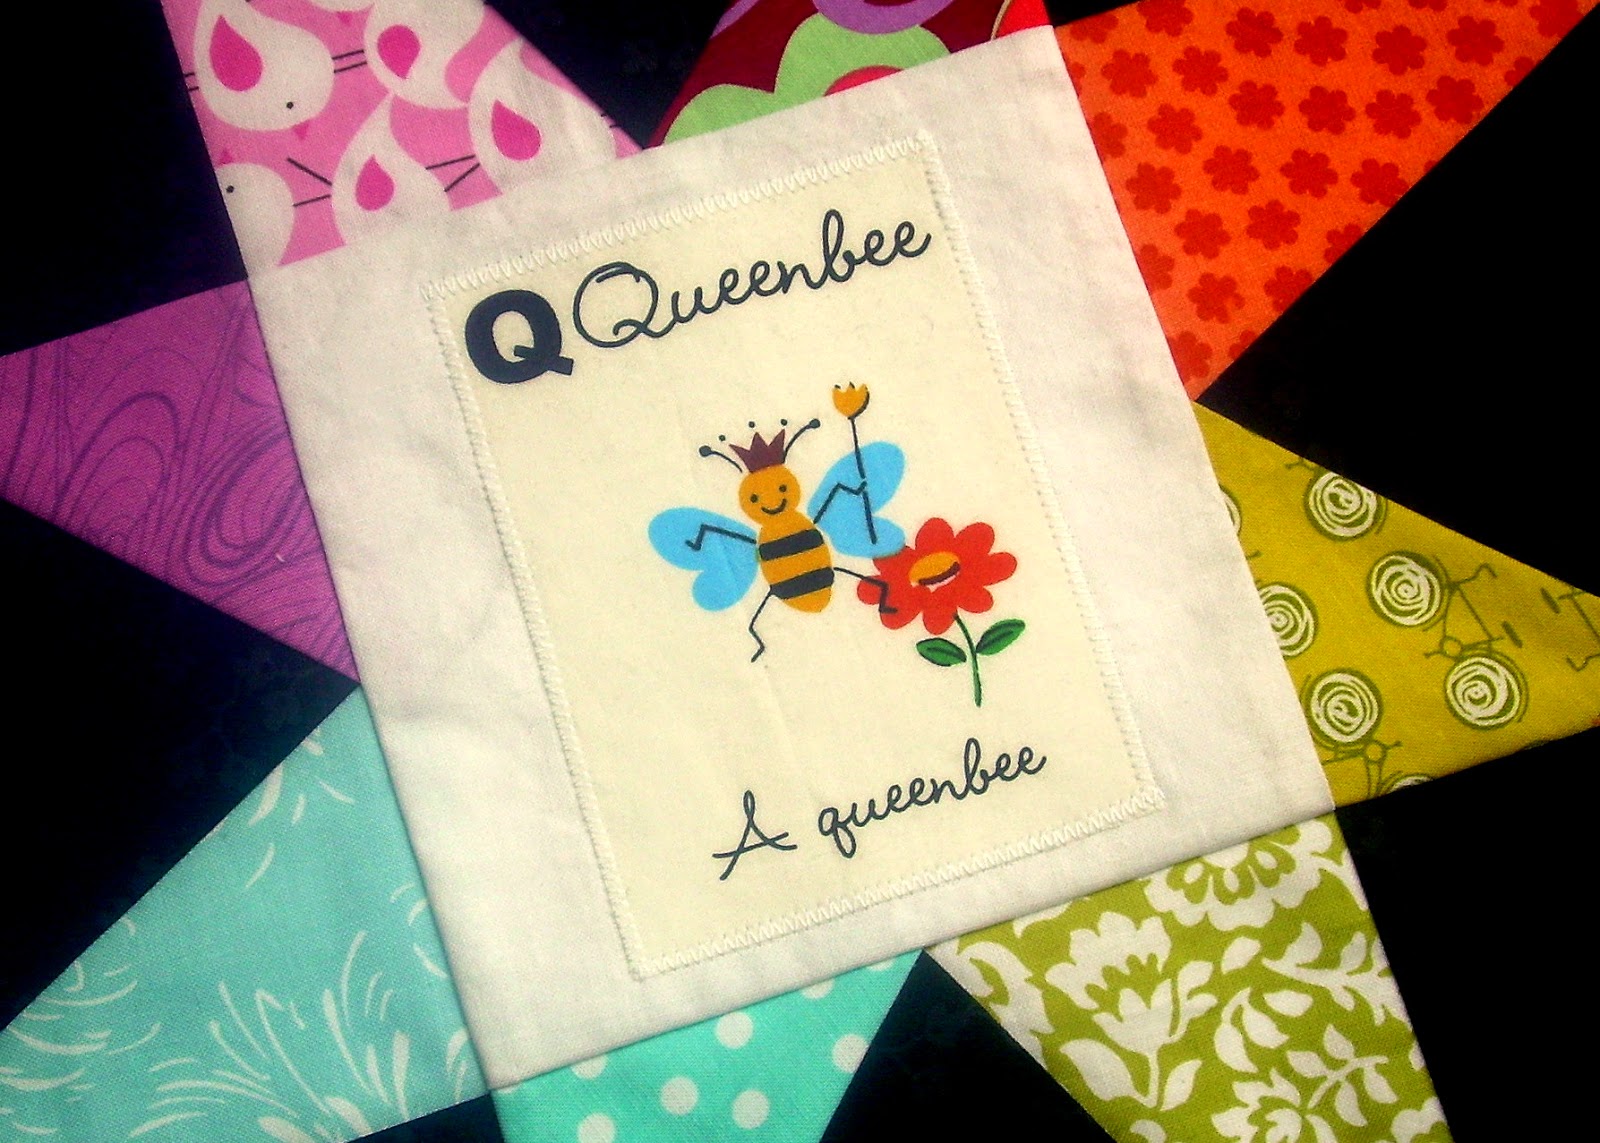
Perhaps I should explain a bit...
For who knows what possible reason, when my three year old has a bath towel or a blanket draped around her shoulders and the mood just happens to strike her, she starts running around and announcing "I'm Queenie!" (and I hope that you can imagine the incredible stress and length that she puts on that QUEE sound. It's hysterical.). So it's time for me to whip out the bath towel because I'm the ScrapBeeLicious "Queenie" for this month.
For months now I've drooled over the other regal choices in the bee and have been hemming and hawing about what I would choose. First I thought one idea was awesome but my color choices were really, ridiculously specific. Maybe too specific for a scrap bee. Then I thought that another idea would be perfect for a quilt for my girls but would my beemates think it too juvenile? Another idea filed away into the "someday" file. And all those potential bee blocks out there....I was overwhelemed and waffling because nothing seemed to be the perfect fit. Suffice to say that I didn't make my very final decision until (in typical procrastinator fashion) yesterday.
But oh my goodness - once I decided, I got really excited. You see, as soon as I saw the first pictures of this quilt by Elizabeth Hartman for Mo Bedell, I was in love. Simple but beautiful! And wouldn't you know that just a little less than two months ago, Elizabeth posted the block tutorial on her website Oh Fransson!
So ladies, I'm asking for two 12.5" square Little Vines blocks in this color scheme:
Bright and springy and luscious! I did a little fabric shopping with this photo in hand and as a reference, the Kona shades that matched up best to this palette are from left to right: Kona Mint, Kona Pear, Kona Azure, Kona Amethyst, no match - grr, Kona Violet.
 |
| Ugh - why do I always choose colors that are so hard to photograph together?? |
I thought that the dark purple in the color palette would be a fun background for the block and would make the brighter petals really pop, but this particular shade of purply-gray is really hard to find! After combing through a large selection of Kona solids and not finding exactly the right fit, I decided on the lovely textured Quilters Linen in purple. I know this isn't something that you're likely to have already in your stash, so I'm actually going to mail you two squares each to use!
And as an added bonus (and also because I'm a total OCD nutcase) because I already cut the curve templates for my own blocks, I'll pre-mark the curve lines for you to applique your bias tape stems over! All you lovely ladies have to do is make (or buy) your own bias tape in shades of light to medium grey and raid those scrap bins for petals in shades of limey greens, aqua blue and medium purple or magenta. I'll include the small and large leaf templates in your packages as well since I have the book in my hot little hands.
Elizabeth's tutorial is pretty self explanatory, so I won't go through it step by step, but here are a few tips to keep in mind:
My favorite method for raw edge applique is to use Wonder Under. You just draw the petal shapes with a pencil or marker onto the paper side of the Wonder Under and then fuse the textured side onto the wrong side of your fabric. Then you can cut out the shapes, peel away the paper, and fuse it to the right side of your fabric.
 |
| The template fused to the wrong side of the Pearl Bracelet fabric - when they are all cut out, you'll have a beautiful dish of springy petals! |
The trickiest part of this block (in my opinion) is making the bias tape - mostly because the pattern calls for 1/4" bias tape, which is pretty thin. However, I picked up a Clover Bias Tape Maker from my local Joann's for less than $5 and it is fabulous and works like a charm so that you make perfect bias tape every time. Check out this video if you want to see the Clover tool in action - it's so easy! I secured it down to the fabric with a glue stick and then stitched with a regular straight-stitch as close to the edges as I could manage.
A pretty simple block, but I can't wait to see what we all create together!

.png)


This will be gorgeous! Can't wait to get started!
ReplyDeleteI know what an agony you had in choosing - but this going to be amazing! Want a few extra blocks? :D
ReplyDeleteOh my gosh you are just making all the hard parts easy! Making bias tape was a thing that made me SO GROUCHY until I actually did it and found out it was EASY AND WORTH IT. I've had my eye on this block pattern too. Thanks for including the leaf templates--I think my library system is quite tired of me checking out this book :)
ReplyDeleteOh oh and "queeeeeenie" is pretty darn cute. :) In a Frozen/Cars mixup, Lucy points at everyone with a crown and says, "S/he's a McQueen." ha!
DeleteWhat a fun pattern to choose! Look forward to seeing all the blocks come together.
ReplyDeleteOh my, this is going to be stunning!
ReplyDeleteI love your color choices!! Stopping by from Bloglovin! Carole @ frommycarolinahome.wordpress.com
ReplyDeleteThat is so gorgeous, words cannot express. I have a bee of my own that I'm still deciding which block to choose for when I, queen this summer,
ReplyDeleteOops! For when I am queen...
ReplyDeleteI'm in love but confused, is it from a tutorial of Elizabeth's or a book? Because I love it!
ReplyDelete